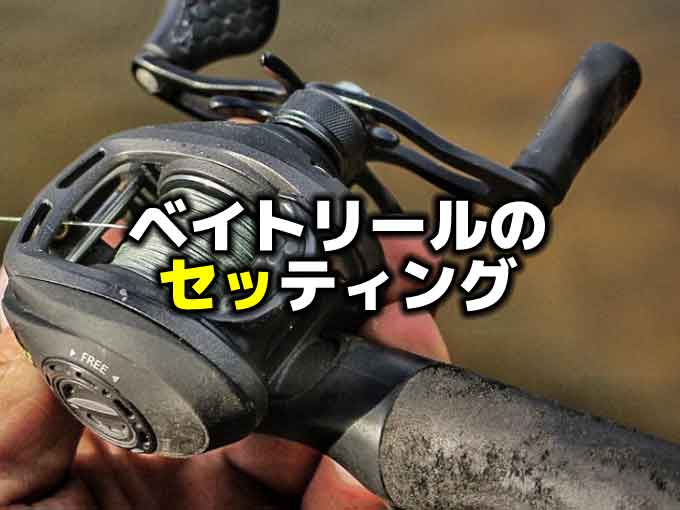
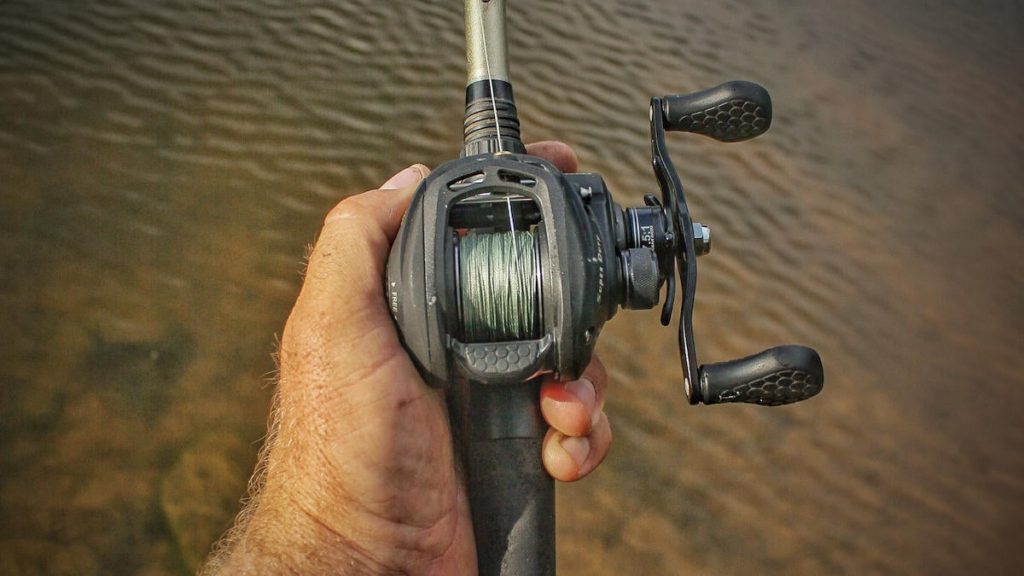
For starters, baitcasters come in both right- and left-handed models. So instead of referring to the right or left of a reel, we’ll be referring to the handle-side of the reel or the side of the reel opposite of the handle. On the handle-side of a reel, you’ll find a spool tension knob that’s circular and raised, about as big around as a dime.
This knob controls how much force is needed to start the spool spinning. Most reels come with all three controls we’re going to talk about today backed all the way off. The best way to start is to tighten all three of these controls all the way down and this includes the spool tension knob.
Now to set the spool tension for your first cast, tie something on like a 1/2-ounce jig and while holding the rod tip straight out in front of you with about a foot of line between the bait and your rod tip, start backing off of the spool tension knob by rolling it towards your body slowly until the bait begins to fall.
You’ll know you’ve gone a little too far if the bait shoots to the ground and your spool backlashes a bit. If that happens, just tighten the knob back up a little by rolling it forward. Now this setting is ready for your first cast, but we still need to set the other two controls first.
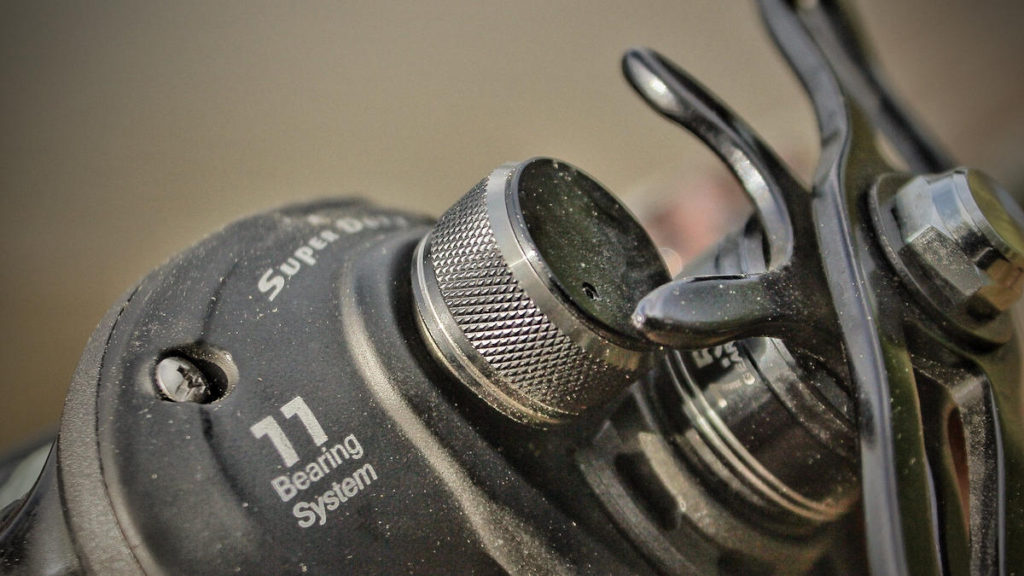
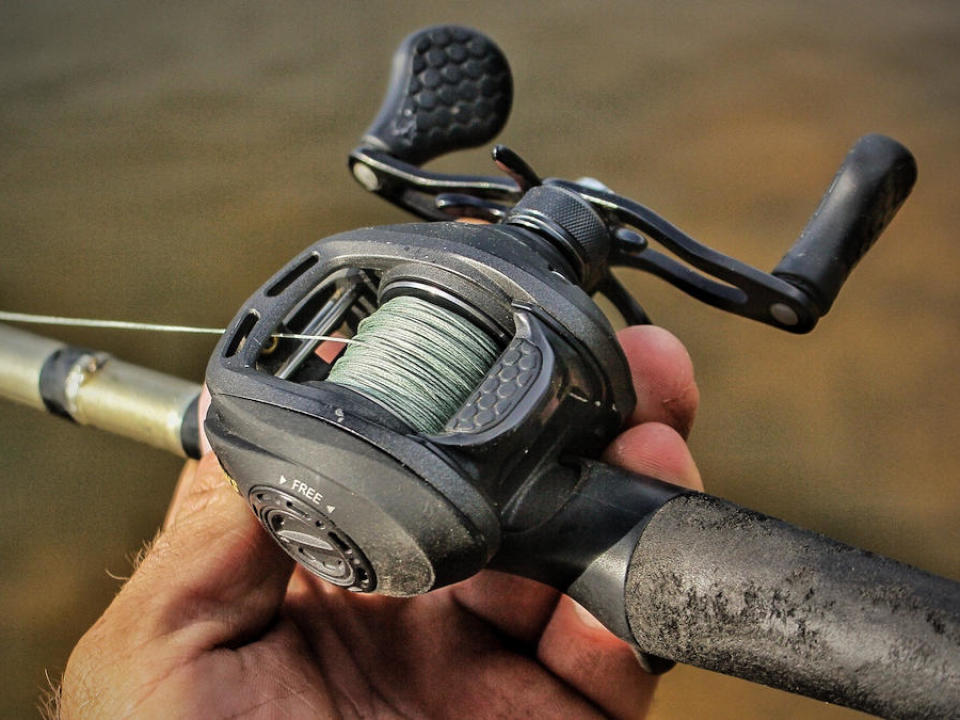
There’s a lot to unpack in this section. Most reels have either a magnetic braking system like the Lew’s Super Duty pictured here or a centrifugal braking system like the older Shimano Curados which a lot of you will be familiar with. There are also some that have a hybrid of the two like the Abu Garcia Revo 4 Infini Brake System and then some that have a Digital Control like the Shimano Metanium DC reel. Again, too much to go over here, so let’s not get bogged down and instead just look at the two most common ones: centrifugal brakes and magnetic brakes.
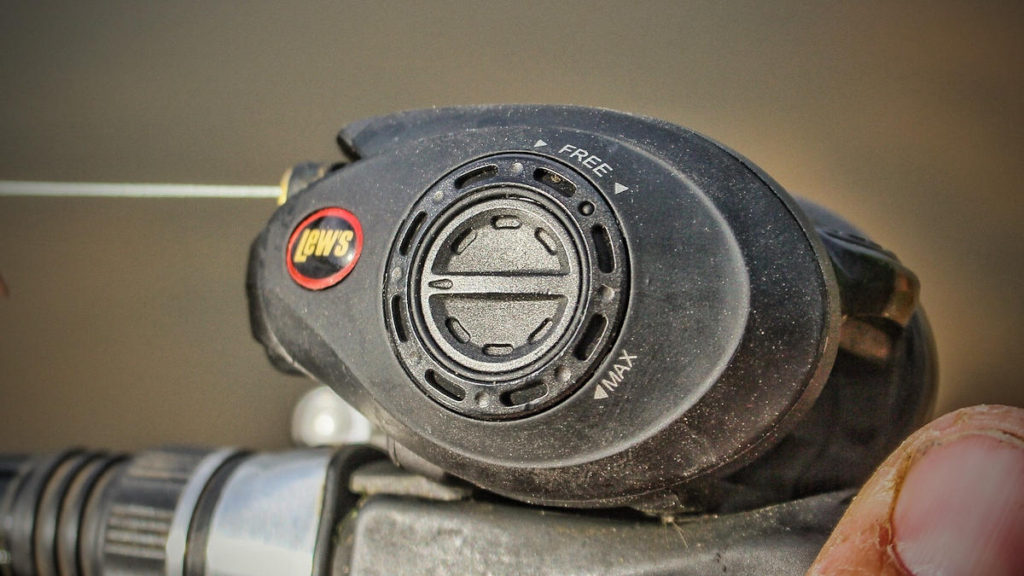
In both cases, the controls for the braking system will be opposite the handle side of the reel. And in both cases the braking system controls the speed the spool will be slowed down at the end of the cast. For the reel pictured here, we have a magnetic braking system and a dial that can be turned to adjust it.
Inevitably, the braking system on my reels will end up at about halfway. But it’s wise to start off with it maxed out, the same as the spool tension knob, and then back off until you can throw a pretty good distance without your spool overrunning at the end of your cast. This will help prevent a backlash. You’ll also learn in time to gently ride the spool with your thumb during the cast, applying pressure to stop the spool at the end of each cast. But for starters, maxing out the braking system does this for you. It will just greatly reduce the distance you can cast. But start there for sure and then loosen it up gradually as you practice.
To touch on the centrifugal braking system, the purpose is the same as the magnetic braking system; to slow and stop your spool at the end of the cast. The main difference is the actual controls. Usually, you have to remove the side plate opposite the reel handle and push pins in or out. Pushing them out applies more brake. Pushing them in applies less.
There will always be an even number of pins and it’s best to set them two at a time. So if you need more brake, push the two in that are across from each other to help the reel stay balanced. If you need less brake, push two inwards that are across from one another. This helps the reel stay balanced and operate more efficiently.
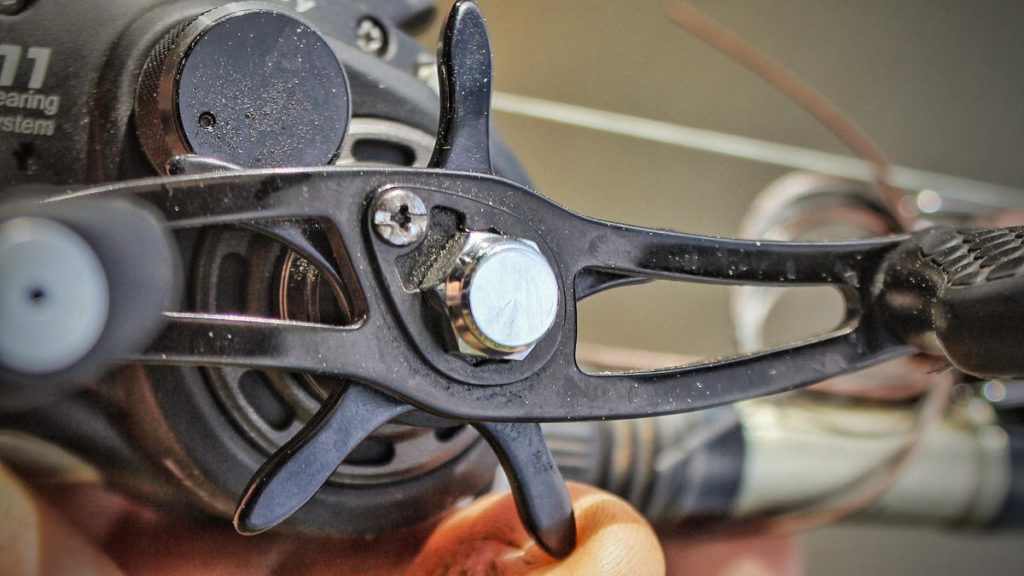
The previous two controls have to do with casting the bait. The final control of the the three we’re talking about today, the drag, has to do with what happens once the bait hits the water. The drag is controlled by the starfish-shaped device on the handle side of the reel. Drag refers to the amount of pressure needed for your spool to lip while the reel is engaged. You’ll roll the control forward or away from your body to increase the drag and roll it backward or toward your body to decrease the drag.
Again as with the spool tension knob and the brake system, the factory setting will have the drag as loose as possible. So I like to tighten mine all the way down and then, with the reel engaged, pull on the line just in front of the reel to see how much pressure it takes for the spool to start spinning. The desired pressure varies greatly depending on the presentation.
If I’m punching thick, matted vegetation with 65-pound braid, the drag is maxed out as far as I can get it. If I’m throwing a treble-hooked bait, it’s much looser. But even then, it’s not the same for all treble-hooked baits. If I’m throwing a Shad Rap on 10-pound test fluorocarbon for instance, I’ll want my drag pretty loose. Reason being, I don’t need to apply a lot of pressure to set the hook and the line is light so I don’t want my drag so tight that it might break.
But if I’m throwing a walking topwater really far on 30-pound braided line, I’ll want my drag a little tighter to ensure a good hookset on a long cast, and then actually back off of my drag as the fish nears the boat so that it’s less likely to tear off or open up a hook with the rigid braid and thin-wired trebles. So it’s not a perfect science and there’s a lot of feel to it that you develop over time through trial and error, but still a few basic rules of thumb that typically apply.
If you’re fishing something like a jig or hollow body frog with one or two big bold hooks and you have those baits paired up with heavier line, tighten down on the drag a good bit. If you’re fishing treble-hooked baits, loosen up a bit. Think about the amount of pressure needed for the hook to set and the action of the rod and size of the line you’re using and make a best guess when it comes to drag. If you find you’re getting slack in your line during the hookset or fight and that’s causing you to lose fish, tighten your drag a little. If fish are tearing off or bending your hooks, back off a little. Over time, you’ll get better and better at setting your drag.
There are so many reels and preventions out there now that it’s impossible to give you a hard, fixed answer about setting your fishing reels. But with practice, like everything in fishing, you’ll find you develop a feel for it.
In the beginning, overcompensate. Err to the side of caution by maxing out both of your casting controls. This will lead to short casts but far fewer backlashes early on, which will actually speed up the learning process since you’ll send more time casting and less time picking at bird nests. Gradually back off both your spool tension knob and your braking system and you’ll find the sweet spot in time.
As for learning to set your drag, you’ll also dial in that middle ground over time and find that range where it’s tight enough to set the hook, but not so tight that you’ll break your line or pull your hooks out of the fish.
Like all things in life, setting a reel is truly just a learned discipline and growth. There will be ups and downs, but don’t get frustrated. Instead try to face that adversity head on, knowing that it will be worth it in the end. It all really comes down to patience and practice which will lead to perseverance. And once you persevere, you’ll have it licked.